Trending

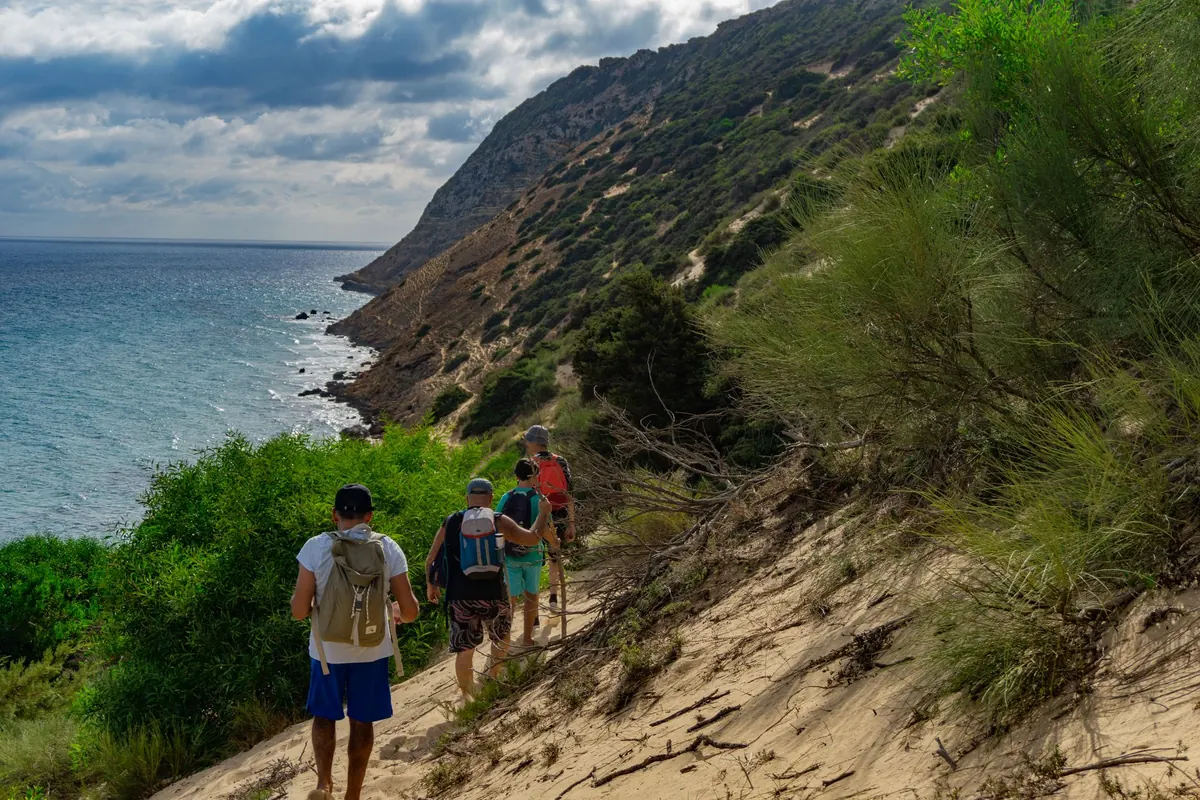
Island coastlines reward the kind of hiker who plans. Not the anxious, spreadsheet-everything kind of planning — the practical kind, where you know which headland will be windy at two in the afternoon, which stretch of shore disappears at high tide, and where you would walk out if the weather turns. Coastal trails are rarely technically hard. What catches people is everything around them: the exposure, the missing shade, and the fact that a path drawn comfortably on a small-scale map can become a goat track above a cliff.
Here is the checklist worth running through the week before you go, and again over breakfast on the morning itself.
A phone is a backup, not a plan. Island paths change — a landslide takes out a traverse, a farmer moves a gate, a waymark fades — but the bigger problem is that screens fail exactly when you need them: wet hands, cold battery, no signal behind a headland. Buy the best-scale printed map of the island you can find, usually 1:25,000 or 1:50,000, and treat it as the primary document.
Before you leave, do four things with it. Read the contour lines along your route and note where the path hugs the water and where it climbs. Find the marked freshwater sources and see how far apart they sit. Locate every village, road end and jetty along the way, because each one is a potential exit. Then take a pencil and circle those exits directly on the map, so they are visible at a glance rather than something you have to work out while tired.
Download an offline copy of your route as well, and check it once in aeroplane mode. A downloaded map you have never tested offline is just a hope.
Coastal walking dehydrates people faster than mountain walking, mostly because of wind and sun rather than effort. A steady breeze dries you out and you notice it late. As a working rule, many hikers plan on roughly half a litre per hour of walking on moderate ground in mild weather, and considerably more in heat or on steep, shadeless climbs.
Then comes the harder part: knowing where the next refill is. Springs and cisterns shown on island maps are frequently seasonal, capped, or on private land, and a source that ran in April may be dry in August. Plan as if every tap might be closed. If your route passes a village, that is your reliable refill; a fountain in a square is worth more than three dotted springs on the map.
Carry a filter or treatment tablets anyway, and use them on anything you did not watch come out of a pipe. If you are relying on a single long, dry section, consider caching water or choosing a route with a road crossing in the middle.
Check the forecast twice in the days before, and again the morning you set out. Look specifically at wind speed and direction, not just the little sun-or-cloud icon. A headland that is pleasant in a light northerly can be genuinely dangerous in a twenty-knot crosswind, and coastal paths often have no easy shelter to step into.
Three island-specific habits are worth building. First, watch the sea state as well as the sky; swell arriving from a distant storm can make a low traverse unsafe on a blue-sky day. Second, plan for fog, which can close an island coast in minutes and erase the landmarks your route depends on. Third, set a turnaround time rather than a turnaround point, and honour it even if the summit or the far beach is nearly in reach.
If thunderstorms are forecast, avoid exposed ridges and cliff-top sections in the afternoon and start early. Morning starts solve a surprising number of island problems at once.
An escape route is not simply the nearest path home. It is the nearest route that is definitely safe and definitely goes somewhere: a village, a road, a jetty where a boat could reach you. A steep gully that saves you a kilometre but involves loose rock and a scramble is not an escape route. It is a second problem.
Along any full-day coastal route, aim to identify at least one workable exit every few kilometres, and write them down: “track up to the chapel at the second headland”, “beach access at the cove before the lighthouse”. Note whether each leads to a road, a village or a phone signal.
For each bail-out, decide now what would trigger it. Rain? Wind above a level you are comfortable with? A companion's knee? A late start that puts the far side of the peninsula after dark? A decision point written on the map is much easier to act on than a vague sense that things are getting worse.
Some of the best coastal walking exists only at low water. Ask locally, and check a tide table for a port near your route rather than relying on a general feeling about the moon. Then build in margin: a two-hour window at the lowest tide gives you an hour of comfortable passage either side. Never commit to a tidal section with swell running, and never cross the base of a cliff you cannot climb away from.
Where a route follows cliff tops, keep well back from the edge, particularly in wind and after rain, and remember that sea cliffs undercut. Grass near the lip is often weaker than it looks.
Coastal day walks need less gear than people think and more of the right gear. The short version:
Tell someone on the island — a host, a guesthouse owner, a friend — where you are going, which route you intend, and when you expect to be back. Agree a check-in time and stick to it; a message sent late is much better than silence.
Then, on the morning, spend ten minutes at the trailhead doing nothing: read the signage, compare it with your map, look at the sea and the sky, and confirm your turnaround time aloud. If the route looks different from what you planned, believe the ground rather than the paper. Turning back early on an island is rarely a wasted day — you are on a coast, and the view from the other direction is usually worth the walk.
Photo: Marwen Larafa / Pexels